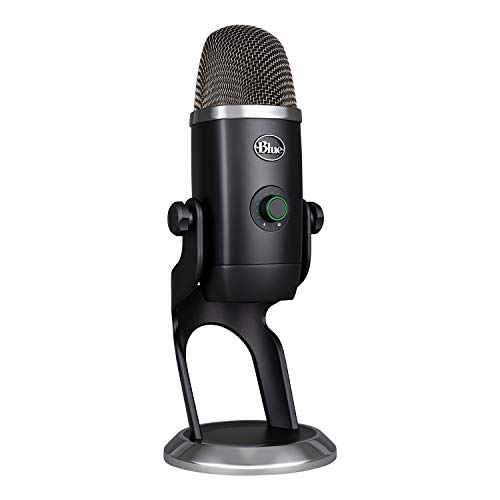
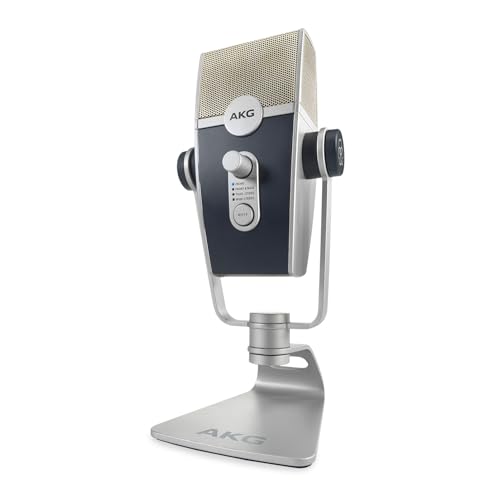
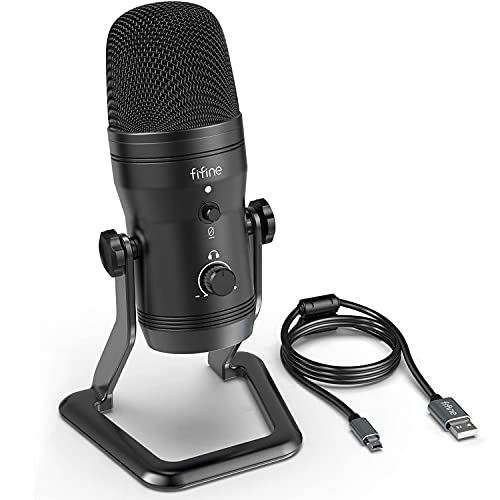
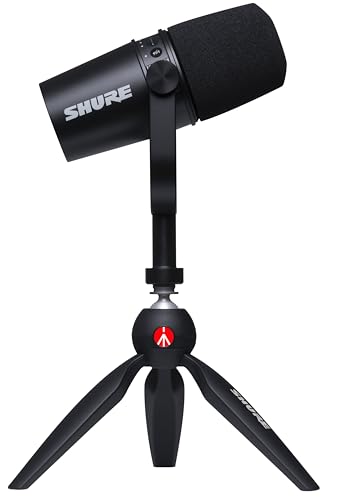
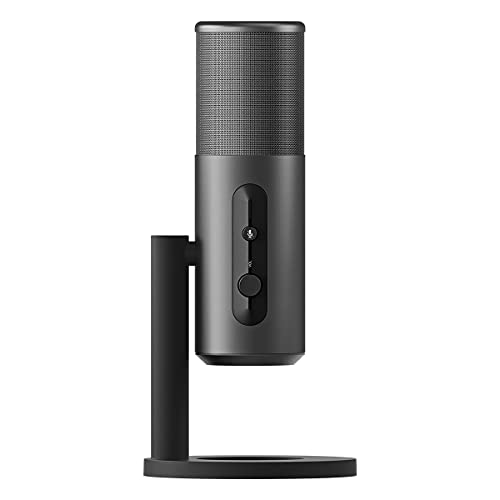
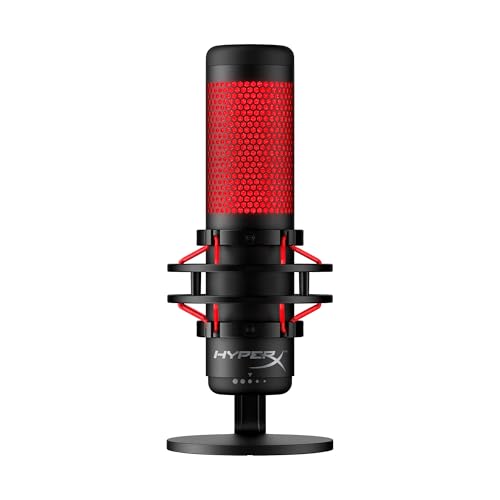
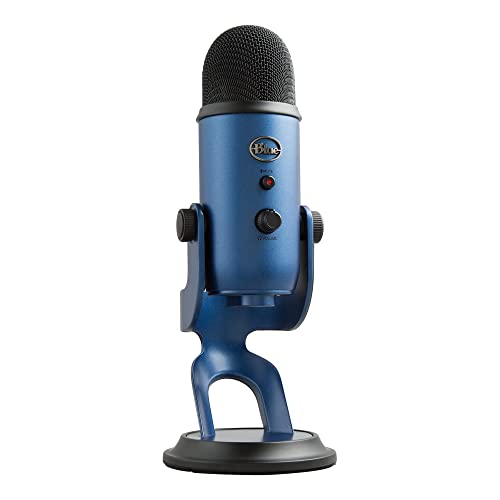
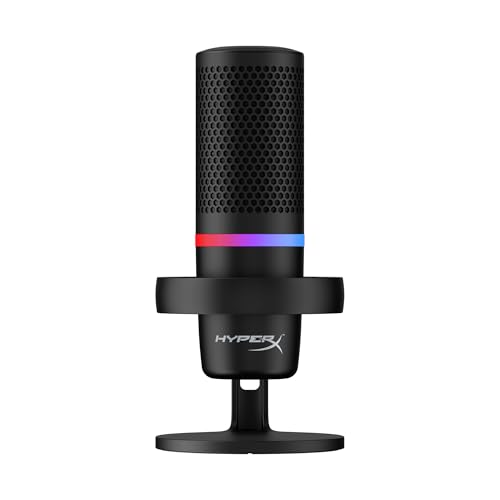
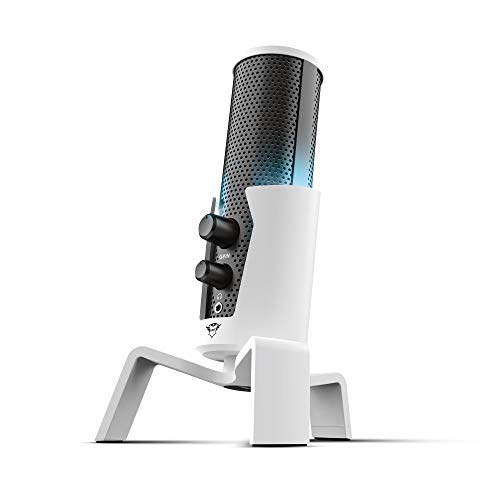
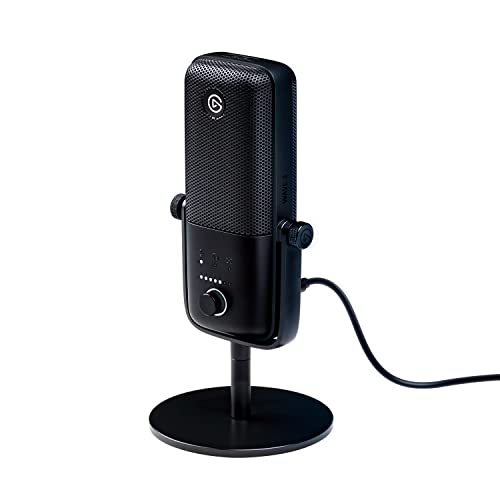
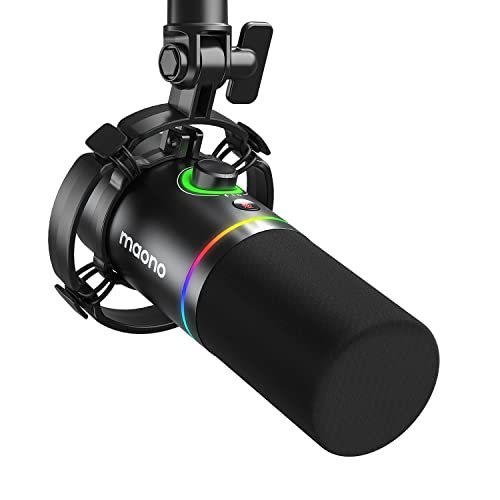
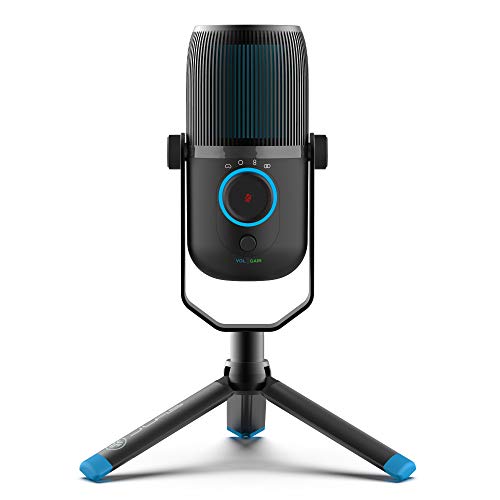
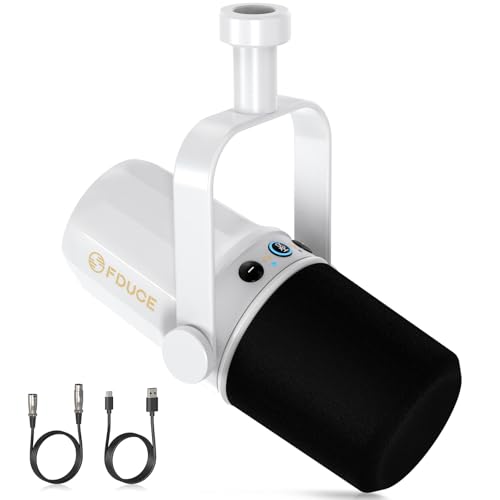
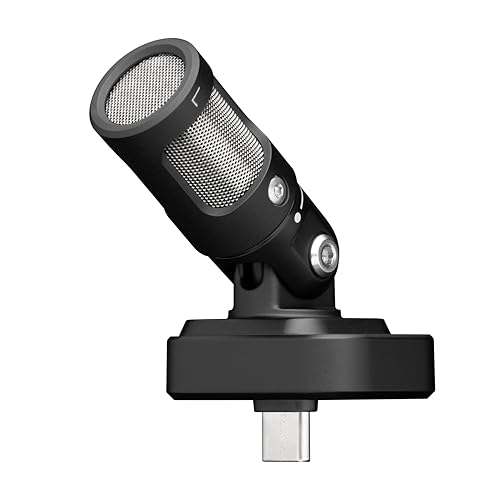
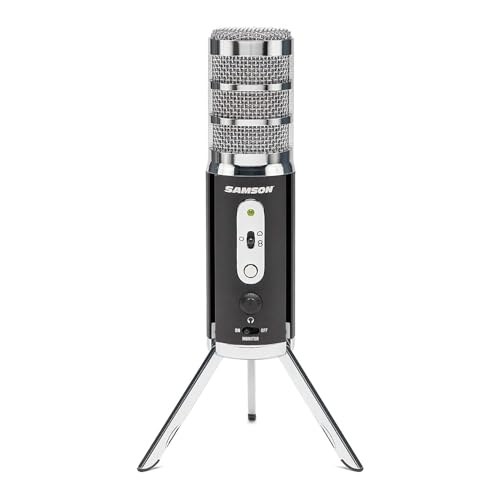
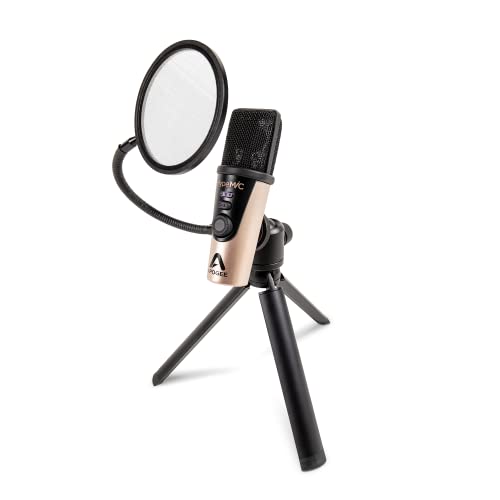
Which brands make the best podcast microphones?
The microphone brands with the highest average overall scores are as follows.
- HyperX (Average overall score: 8.3)
- JLab Audio (Average overall score: 8.1)
- Blue (Average overall score: 8)
The chart below compares microphone brands by average overall score.
[horizontal-chart-17722261969187988942009596606811630445561412665918]
What makes a microphone suitable for podcasting?
A microphone is suitable for podcasting when it captures a steady, intelligible voice while rejecting enough of the room to keep editing manageable. For most solo hosts, a cardioid model used about 10–15 cm from the mouth is the dependable starting point: close placement raises the voice above reflections, computer fans, and distant traffic without requiring excessive gain.
Practical controls separate a convenient podcast microphone from one that merely sounds good in isolation. Direct, zero-latency headphone monitoring exposes plosives and level changes during the take; hardware gain and mute controls allow fast corrections; and a secure boom arm or desk stand keeps mouth distance consistent. For USB recording, clean 24-bit conversion at 48 kHz is already sufficient for professional speech, so quiet electronics, predictable off-axis rejection, and effective pop protection matter more than headline sample-rate figures.
The chart below shows how commonly microphones use a cardioid pickup pattern.
[pie-chart-03348205470315424748143746174598647649631193927052]
Are USB or XLR microphones better for podcasting?
USB is the better choice for a straightforward one-person podcast, whereas XLR is better for a studio that needs several microphones, hands-on routing, or a flexible upgrade path. Neither connection guarantees better sound by itself.
With USB, the preamp and analogue-to-digital converter are built into the microphone. One cable reaches the computer, and models with direct monitoring, hardware gain, and a mute button can form a complete recording chain without a separate interface.
XLR earns its extra complexity when the production grows. A two- or four-input interface gives every host an independent gain stage, makes local backup or mixer workflows easier, and lets the microphone and electronics be replaced separately. Check the details before buying: many broadcast dynamics need around 50–60 dB of clean gain, while condenser microphones generally require switchable 48 V phantom power. The cost of the interface, cables, and headphone distribution also belongs in the comparison.
Hybrid USB/XLR models are useful when the path is uncertain. They work directly with a laptop today and can join an XLR studio later, although onboard DSP, headphone monitoring, or mute controls may operate only over USB.
Which microphone types work best for podcasts?
The microphone types that work best for podcasts are as follows:
- Dynamic cardioid microphones: The safest all-round choice for untreated bedrooms and offices. Their close-working style helps the voice dominate room reflections, though low-output XLR models can demand around 50–60 dB of clean preamp gain.
- Condenser cardioid microphones: A strong option in quiet, acoustically controlled rooms where extra articulation and upper-frequency detail are useful. Their sensitivity also reveals keyboard noise, traffic, reverberation, and inconsistent technique more readily.
- USB microphones: Best for a solo host who values fast setup and a compact desk. Look beyond the connector for 24-bit audio, direct headphone monitoring, physical gain control, and a mount that will not transmit desk knocks.
- XLR microphones: Best for multi-person shows and permanent studios. The separate interface or mixer adds cost, but it provides independent inputs, replaceable components, and far more routing control.
- Hybrid USB/XLR microphones: A practical bridge between those workflows. Confirm whether DSP, monitoring, mute, and gain functions still work through XLR, because some controls belong only to the USB signal path.
How much do podcast microphones cost?
Podcast microphones typically cost £50-£220, with basic USB models available near £30-£50 and specialist broadcast microphones sometimes exceeding £340. Price the complete recording position, not just the capsule: a weak stand, missing pop filter, unsuitable interface, or poor headphones can erase the apparent saving.
Below roughly £90, expect simple USB condensers and entry-level XLR dynamics that can record clear speech with careful placement, but may omit direct monitoring, quiet gain, or a solid mount. The £90-£220 range is the practical sweet spot. It includes polished USB microphones, flexible USB/XLR hybrids, and established broadcast-style dynamics with better controls, quieter electronics, and more predictable off-axis behaviour.
Spend above £260 only for a benefit the production will actually use, such as unusually controlled rejection, durable broadcast mechanics, advanced DSP, or a particular studio voicing. An XLR microphone also needs supporting hardware: allow about £90-£220 for a capable interface, then add the cost of a boom arm, cable, pop filter, and closed-back headphones.
The chart below shows the price distribution of microphones.
[vertical-chart-08798437857279293318037040075312113098464171666265]
How good is sound quality on podcast microphones?
Sound quality from a good podcast microphone is fully capable of professional spoken-word release when the microphone fits the room and the speaker uses it consistently. A clear midrange and controlled upper frequencies matter more than exaggerated bass or an unusually wide response claim; consonants should remain intelligible without turning sibilance brittle.
Placement changes the result immediately. Working about 10–20 cm from a directional microphone raises the voice-to-room ratio and can add useful warmth, while moving too close makes plosives and bass harder to control. A pop filter and slight off-axis angle usually solve more than aggressive equalisation later.
The room sets the practical ceiling. A detailed condenser may sound excellent in a treated studio but expose reflections and keyboard noise in a bare office, whereas a close-spoken dynamic often produces the cleaner recording there. Consistent rejection also reduces spill when two hosts record on separate tracks.
Digital specifications are rarely the limit: 24-bit/48 kHz provides ample headroom and bandwidth for normal podcast delivery. USB can therefore sound broadcast-ready without extra hardware; with XLR, the interface must provide enough clean gain or a fine low-output dynamic can become noisier than a well-designed USB alternative.
What accessories matter most for a podcast microphone?
The podcast microphone accessories that matter most are as follows:
- Boom arm or stable stand: It keeps the capsule at a repeatable mouth distance and prevents desk movement from changing the level. Check the microphone weight, thread size, clamp clearance, and reach before buying.
- Pop filter or foam windscreen: It reduces bursts from P and B sounds before they overload the recording. A separate pop filter usually gives stronger plosive control in a fixed studio, while a foam cover is compact and convenient.
- Shock mount: It isolates the microphone from desk knocks, keyboard vibration, and movement through the boom arm. Compatibility is often model-specific, so verify diameter, mounting thread, and supported weight.
- Closed-back headphones: They let the host monitor levels and noise without sound leaking back into the microphone. Plug them into the microphone or interface used for direct monitoring, not a delayed software output.
- Audio interface for XLR microphones: It supplies preamp gain, conversion, monitoring, and phantom power when required. Low-output dynamics may need around 50–60 dB of clean gain, while condenser microphones normally need switchable 48 V power.
- Correct cables and adapters: Balanced XLR cables are standard for studio chains, while USB-C, USB-A, or Lightning compatibility varies by microphone and host device. Avoid assuming that a plug adapter also guarantees power, data, monitoring, or software support.
- Acoustic treatment: Absorptive panels, thick curtains, rugs, and soft furnishings reduce early reflections that make speech sound hollow. Treatment around the speaker and directly behind the microphone is usually more useful than decorative foam scattered randomly.
What should you check before buying a podcast microphone?
The main points to check before buying a podcast microphone are as follows:
- Room and pickup pattern: Cardioid is the safest choice for one host unless bidirectional or omnidirectional capture has a specific purpose. In an untreated room, speak close to the microphone and aim its rejection toward the loudest computer, street, or ventilation noise.
- Dynamic or condenser design: A dynamic microphone is usually easier near computers and hard walls, while a condenser can preserve more detail in a quiet controlled space. Match sensitivity and voicing to the room and voice rather than treating either design as automatically more professional.
- Host count and connection: USB is simplest for one microphone, XLR is better for several local hosts and component upgrades, and hybrid models support both workflows. Confirm the operating system, mobile-device power, available inputs, and one suitable monitoring path for every local speaker.
- Gain and power: Check microphone sensitivity against the available preamp rather than buying by connector alone. Some passive broadcast dynamics need about 50–60 dB of clean gain, while XLR condensers normally require 48 V phantom power.
- Monitoring and controls: Look for true zero-latency headphone monitoring, reachable gain, headphone-level adjustment, and a clearly indicated mute state. During live conversation, hardware controls are faster and safer than searching through software menus.
- Recording format: Twenty-four-bit recording at 48 kHz is a strong spoken-word baseline for USB microphones and interfaces. Higher sample rates increase storage and processing demands without repairing clipping, distant placement, or a reflective room.
- Mounting and address orientation: Verify weight, thread size, stand capacity, included adapter, control noise, and whether the microphone is side-address or end-address. The mount must hold the capsule close to the host without drooping, blocking sight lines, or transmitting desk movement.