
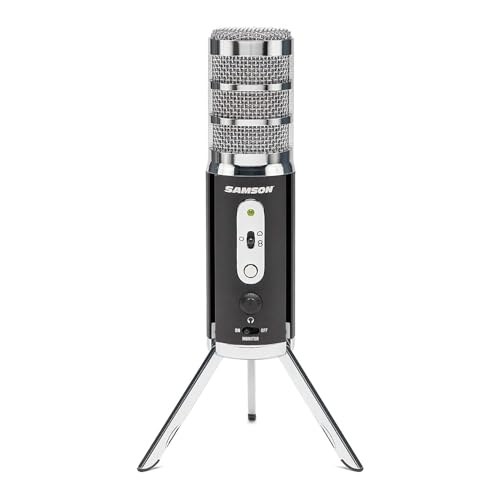
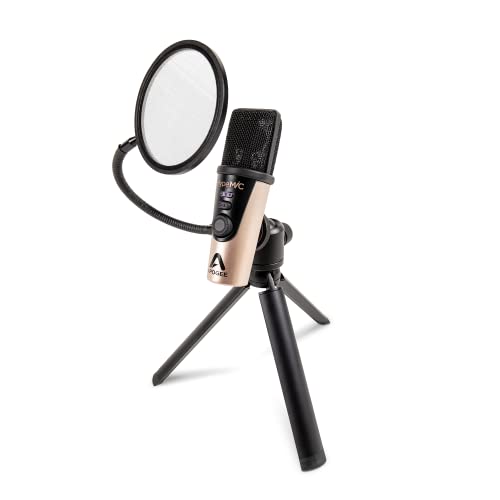
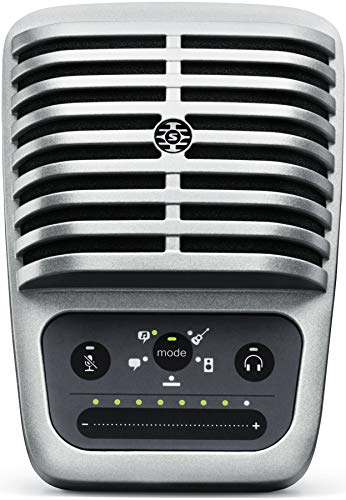
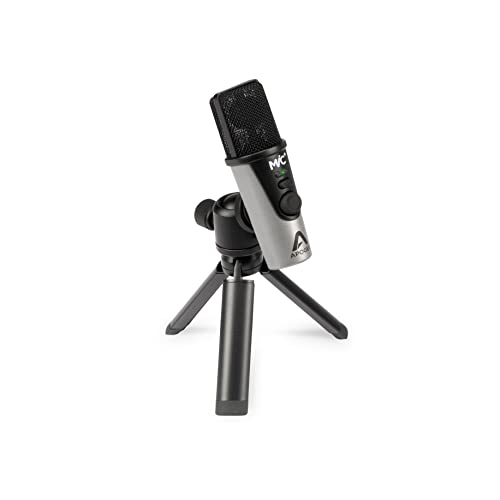
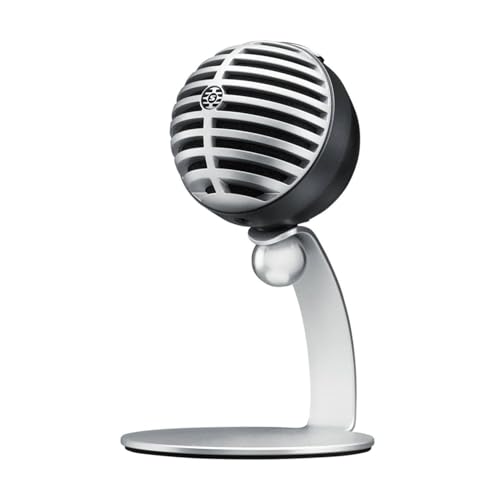
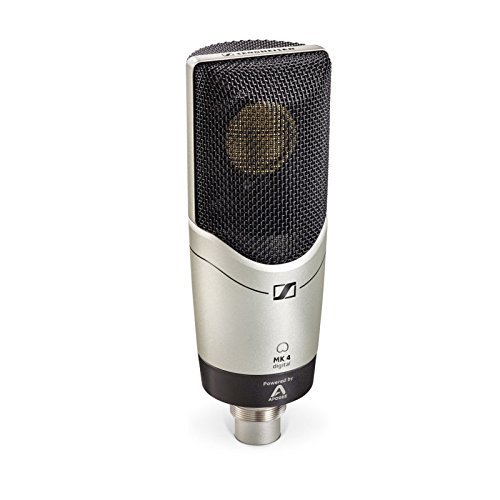
What are the best microphones for iPhone?
The iPhone-compatible microphones with the highest overall scores are as follows:
- Blue Yeti X (Overall score: 8.82 points)
- AKG Lyra (Overall score: 8.55 points)
- Blue Yeti (Overall score: 8.39 points)
Which microphone types work best with iPhone?
Compact directional microphones, lavaliers, wireless clip-on systems, and class-compliant USB microphones are the most useful types for iPhone recording. The best choice depends less on capsule prestige than on where the microphone can be placed and how many people must be recorded.
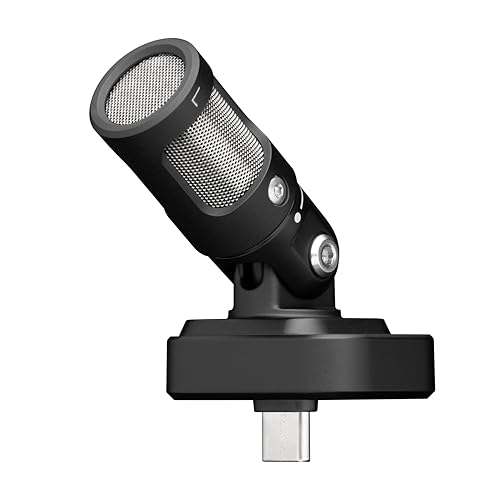
A small directional microphone mounted close to the phone is convenient for quick video, but it still sits roughly at camera distance. It improves focus over the built-in microphones without replacing the clarity of a lavalier placed 15–25 cm from the speaker. Outdoors, a proper furry windshield is far more effective than a thin foam cover.
For interviews and presentations, a wired lavalier is inexpensive and predictable, while a digital wireless kit removes the cable between subject and phone. Two-transmitter systems are especially useful for conversations; check whether the receiver records separate channels, because a permanently mixed track leaves less control in editing.
A desktop USB condenser or dynamic microphone makes more sense for voice-over, remote interviews, music demos, and seated streaming. It can deliver stronger controls and headphone monitoring, but usually needs a stand, a compatible cable or adapter, and sometimes external power, so it is less elegant for handheld filming.
How do you connect and monitor an external microphone on iPhone?
Connect an external microphone to an iPhone through a receiver or interface that matches the phone port and presents itself as a supported audio input. USB-C iPhones can often use a class-compliant USB microphone or a purpose-built USB-C receiver directly; Lightning models normally need a Lightning microphone, a compatible receiver, or a powered camera adapter. Analog 3.5 mm microphones require the correct TRS-to-TRRS/CTIA wiring and may also need plug-in bias, so a passive shape-changing adapter is not always enough.
Monitor from the microphone, receiver, or interface whenever possible because the iPhone headphone path may not remain available once the port is occupied. A direct-monitoring output avoids application delay and lets you catch clipping, clothing noise, plosives, and a disconnected transmitter before recording. Confirm that the camera or audio app has selected the external input, make a short test recording, and check whether charging, headphones, and the microphone can operate together with the chosen adapter or hub.
How important are Lightning, USB-C, and adapter compatibility?
Lightning, USB-C, and adapter compatibility are decisive because the wrong connection can leave an otherwise suitable microphone unusable. iPhone 15 and newer generations use USB-C, while iPhone 14 and earlier models use Lightning; native plugs are simplest, but check case clearance and exact iOS support rather than assuming physical fit is enough.
USB-C iPhones work with many class-compliant USB microphones, receivers, and interfaces, provided the cable carries data and the phone can supply enough power. A powered USB-C hub can support demanding desktop equipment and charge the phone during a long session.
Lightning models normally need a native Lightning microphone or an appropriate Lightning-to-USB camera adapter. A powered adapter is useful when a microphone or interface triggers an accessory-power warning, while an XLR condenser still needs an interface that supplies its required phantom power. Passive cable stacks cannot replace those functions.
Test the complete path in the intended recording app. Connect the microphone before opening the app, confirm its input meter responds, check stereo or split-channel handling for wireless receivers, and play back a short recording before the real take.
Are wired or wireless microphones better for iPhone?
Wired microphones are better for maximum reliability and minimum setup, while wireless systems are better when the speaker must move or stand away from the iPhone. Neither format is inherently cleaner: placement, gain staging, wind protection, and the quality of the microphone and receiver usually have a greater effect on the recording.
A direct plug-in microphone or wired lavalier avoids radio pairing and battery management. It is a strong choice for voice-overs, stationary pieces to camera, and long sessions, although the cable can pull on the phone, transmit handling noise, or limit framing. Leave strain relief at the connector and secure a lavalier cable under clothing without rubbing fabric.
Wireless clip-on systems simplify walking interviews, demonstrations, and two-person shoots. Look for a receiver made for the phone connector, enough runtime for the full shoot, clear battery indicators, and onboard backup recording when available. Digital RF systems are normally preferable to Bluetooth for production audio because they are designed for lower latency and more controlled receiver routing, but they still require a frequency-stable link and a pre-shoot range test.
Can you use an XLR microphone with an iPhone?
Yes, you can use an XLR microphone with an iPhone, but the phone needs a compatible audio interface or mixer between the microphone and its Lightning or USB-C port. The interface converts the balanced analog XLR signal into digital audio, supplies usable microphone gain, and gives the recording app an input it can recognize. This setup makes sense for studio dynamics, condensers, broadcast microphones, music recording, and any situation where you want to keep using a standard XLR microphone rather than buy a phone-specific model.
Choose the interface around the microphone and the mobile workflow. Condenser microphones normally require 48 V phantom power, while insensitive dynamic microphones may need more clean gain than a very small adapter provides. Check whether the interface can run from the iPhone, needs its own battery or a powered adapter, and offers direct headphone monitoring. Finally, confirm that the exact iOS app accepts the interface and that the required cable carries data and power—not merely charging—because a connector that physically fits is not proof of audio compatibility.
How much do good microphones for iPhone cost?
Good microphones for iPhone generally cost about £30-£360, with the most practical mobile choices concentrated around £70-£220. The price depends heavily on whether you are buying one compact microphone, a desktop USB model, or a complete two-person wireless kit.
Below roughly £70, expect a basic wired lavalier, a simple direct-connect microphone, or an entry USB model. These can improve speech substantially when positioned well, but packages may omit a robust mount, effective outdoor wind protection, headphone monitoring, or the cable required for your exact iPhone.
From about £70-£220, build quality, cleaner gain, app support, monitoring, and accessory completeness usually improve. This range covers many serious creator microphones and wireless systems; compare whether a quoted wireless price includes one or two transmitters, a charging case, and Lightning or USB-C receiver hardware.
Premium options around £220-£360 make sense for demanding voice-over, music, professional interviews, or a microphone that will also serve a computer studio. Pay for the full workflow rather than a specification headline: an expensive microphone that still requires an interface, powered adapter, stand, and headphones may cost considerably more to deploy than its box price.
The chart below shows the price distribution of iPhone-compatible microphones.
[vertical-chart-15763409360937597256005400808617481148401723271444]
What should you consider while choosing a microphone for iPhone?
The main points to consider while choosing a microphone for iPhone are as follows:
- Connection and app routing: Match Lightning or USB-C to the iPhone generation and verify the correct receiver, cable, or certified adapter. Then test the exact camera, call, streaming, or recording app, because a physical connection does not guarantee that iOS selects the external input or preserves the intended channels.
- Microphone type and placement: Use a directional on-phone microphone for quick video, a lavalier or wireless transmitter for speech at a distance, and a class-compliant USB or XLR setup for seated voice and music. Moving the capsule to roughly 15–25 cm from the mouth often improves clarity more than buying a more expensive model.
- Power and session length: Check whether the microphone draws power from the iPhone, has its own battery, or needs a powered hub or camera adapter. For wireless systems, compare transmitter, receiver, and charging-case runtime separately and leave reserve for setup and retakes.
- Monitoring and gain: Direct headphone monitoring helps catch clipping, interference, clothing rub, and a disconnected transmitter before the take ends. If it is unavailable, use conservative gain, watch the app meters, and play back a test recorded at the loudest expected level.
- Wind, handling, and mounting: Outdoor speech needs a fitted furry windshield rather than foam alone. Check shock isolation, connector strain, phone-case clearance, cage or tripod threads, clip security, and whether touching the screen or cable sends bumps into the recording.
- Interview channel control: Decide whether one or two transmitters are required and whether the receiver or app can preserve separate left and right channels. Onboard backup recording, a lower safety track, and clear link indicators reduce the risk of losing an unrecoverable interview take.