
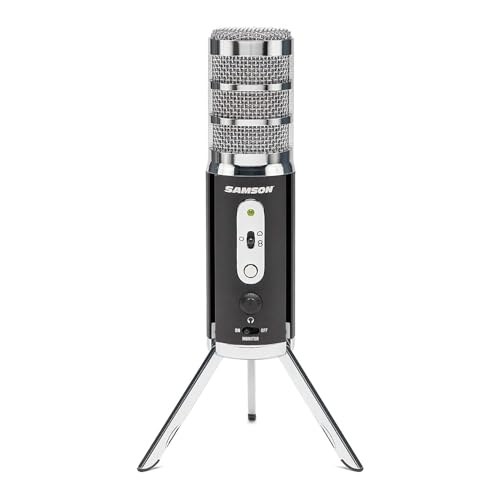
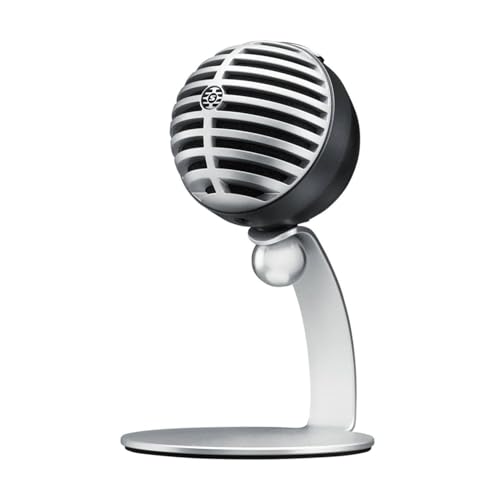
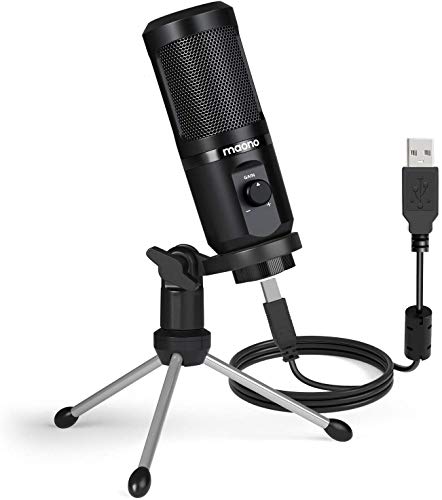
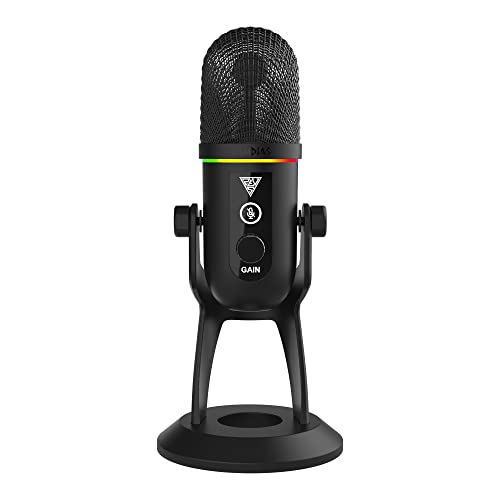
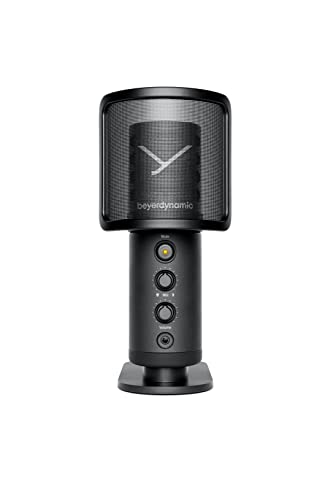
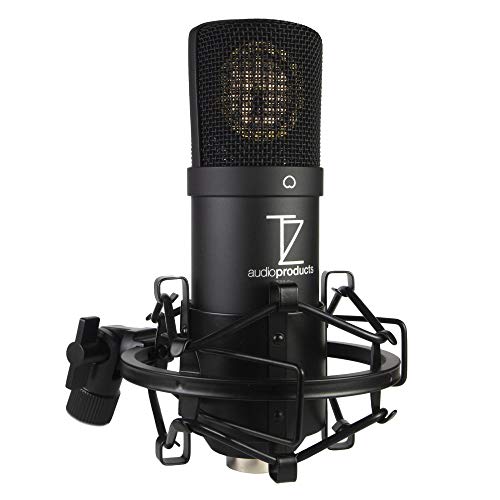
What are the best microphones for cameras?
The microphones ranked highest for camera use are as follows:
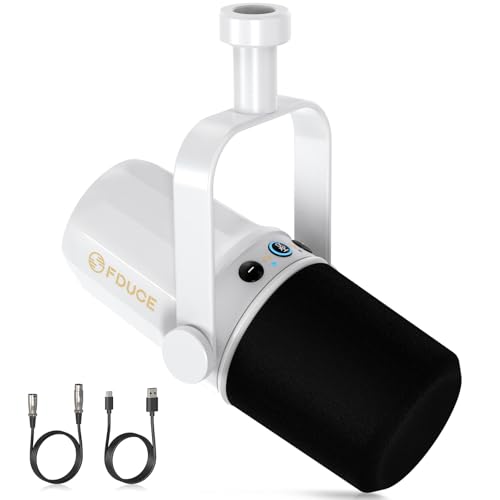
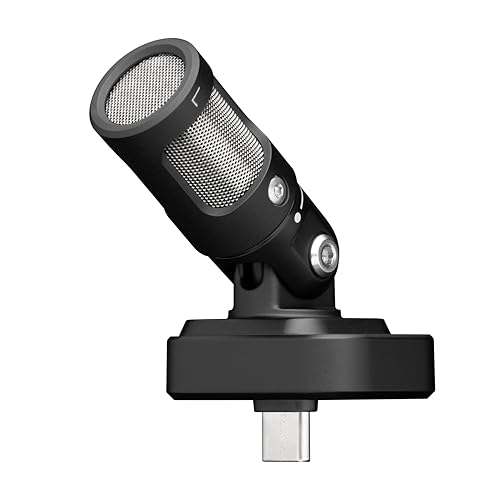
- Blue Yeti X (Overall score: 8.82 points)
- AKG Lyra (Overall score: 8.55 points)
- Blue Yeti (Overall score: 8.39 points)
Which microphone types work best on cameras?
Short on-camera shotguns, lavaliers, and digital wireless systems are the most useful microphone types for cameras. The right choice depends mainly on subject distance, movement, crew size, and whether the microphone can be placed close without entering the frame.
A compact shotgun is the simplest upgrade for a solo operator because it stays attached to the camera and follows the frame. Its directional body reduces sound arriving from the sides, but it cannot make a distant speaker sound close or remove a noisy location.
Lavalier microphones solve the distance problem by placing the capsule on the speaker. Wired lavaliers are inexpensive and dependable for seated interviews; wireless clip-on systems allow movement and faster reframing, and two-transmitter kits can record an interviewer and guest on separate channels.
Long professional shotguns and hypercardioid microphones work best on a boom, stand, or full-size rig where they can remain close but outside the picture. Handheld dynamics are another strong option for street interviews and loud events because close speaking distance provides useful isolation, although the microphone becomes a visible part of the presentation.

How should you mount and position a microphone on a camera?
Mount and position a camera microphone according to the sound source, not merely where the camera has a shoe. A compact on-camera microphone is convenient for close presentation, ambience, and backup sound, but dialogue becomes thin as the subject moves farther from the lens. For interviews or wider shots, a boom just outside the frame, a lavalier, or a wireless transmitter keeps the capsule close enough for clear speech.
Use a shock mount that supports the microphone without sagging, leave a small service loop in the cable, and keep the capsule and windscreen outside the frame throughout zoom, stabilization, and gimbal movement. Aim the microphone consistently while checking what its rear and side lobes face. Outdoors, fit proper furry wind protection before setting the final position because the added size and weight can change frame clearance and suspension behaviour.
Set the microphone or receiver output high enough that the camera preamp does not need excessive noisy gain, but leave headroom for sudden speech peaks. Secure the input plug, confirm whether the microphone uses plug-in power, an internal battery, or phantom power, and record a test while operating autofocus, zoom, stabilization, and camera controls. Headphone monitoring is best; when the camera lacks it, replay the test clip before the important take.
How important are directionality and noise rejection?
Directionality and noise rejection are very important, but microphone distance and isolation determine whether they actually help. A short shotgun or supercardioid microphone can reduce side sound when aimed correctly, yet it still records reverberation and noise that arrive from the same direction as the subject. Keep it just outside the frame when possible; a camera-top microphone several metres away cannot isolate dialogue like a lavalier or boom placed close.
Mechanical and wind noise require separate controls. A shock mount interrupts vibration from camera controls, stabilizers, cables, and footsteps, while a furry windshield slows turbulent air before it reaches the capsule. Aim the microphone consistently, keep the most troublesome noise toward its rejection area, and listen for rear pickup or off-axis voices—shotgun patterns are directional, not silent everywhere outside the front lobe.
Are wired or wireless camera microphones better?
Wired camera microphones are better for simple, reliable on-camera recording, while wireless systems are better when the subject moves or stands too far from the camera for useful camera-top audio. Sound quality depends on placement and gain more than on the absence of a cable.
A wired shotgun mounted on the shoe has no radio link to pair and often draws little power or runs for long periods. It follows the lens naturally and is ideal for run-and-gun ambience, close presentation, and backup sound. The trade-off is distance: as framing widens, the wanted voice becomes quieter relative to the room, traffic, crowd, or wind.
Wireless systems keep the microphone on the person, so dialogue remains consistent while the camera changes position. For two-person work, check transmitter count, separate-channel output, onboard backup recording, safety-track options, and how the receiver mounts without blocking the screen or viewfinder. Range claims are less important than stable performance around bodies, walls, Wi-Fi traffic, and the actual locations where filming occurs.
A wireless kit also creates three power and connection points—the transmitters, receiver, and camera input. Confirm battery status before each take, secure the short output cable, match TRS rather than smartphone-style TRRS wiring, and set receiver output high enough to avoid excessive camera-preamp gain without clipping the input. For one stationary subject, a wired lavalier can remain the quieter and cheaper solution.
How much do good camera microphones cost?
Good camera microphones generally cost about £30-£690, while professional shotgun and multi-channel wireless systems can exceed £860. A compact entry-level on-camera microphone often costs £30-£100 and can be a large improvement over built-in camera audio when the subject remains close. Check whether the quoted price includes a shock mount and useful outdoor wind protection, since buying them separately narrows the apparent saving.
Between roughly £100-£300, expect better suspension, stronger output control, more complete windscreens, and serious single- or dual-person wireless kits. This is the most useful range for independent creators, interviews, events, and documentary work. Compare package contents carefully: one transmitter, two transmitters, a charging case, a lavalier, and onboard recording can change both capability and price.
Above about £300, spending usually buys professional RF management, longer shotguns, balanced XLR connections, rugged construction, time-saving control, or expandable multi-channel systems. Include the supporting rig in the budget—boom, suspension, blimp, XLR adapter or recorder, cables, batteries, and headphones—because the microphone alone may be only one part of a production-ready camera-audio chain.
The chart below shows the price distribution of microphones considered for camera use.
[vertical-chart-08798437857279293318037040075312113098464171666265]
What should you consider while choosing a camera microphone?
The main points to consider while choosing a camera microphone are as follows:
- Size, balance, and isolation: Keep the microphone and suspension short and light enough for the camera shoe, cage, or gimbal. It should clear the lens and controls while reducing autofocus vibration, stabilizer motors, cable taps, footsteps, and button presses.
- Wind protection: Foam is useful indoors, but outdoor dialogue normally needs a fitted furry windshield or a full blimp for a boomed shotgun. Confirm that the wind protection stays secure without overloading the suspension or entering the frame.
- Pickup pattern and placement: Short shotguns and supercardioids reduce side pickup, but they cannot recover clear dialogue from excessive distance. Decide whether the microphone will remain on-camera, sit on a boom just outside the frame, attach as a lavalier, or move with a wireless transmitter.
- Camera input and wiring: Verify 3.5 mm TRS, mini-XLR, full-size XLR, or the camera maker's digital shoe format. TRRS phone wiring and USB-only microphones are not interchangeable with a standard analogue camera input through a passive cable.
- Power requirements: Check plug-in power, internal battery, phantom power, camera-linked switching, and expected runtime. A receiver that sleeps incorrectly, drains the camera, or requires an unavailable XLR supply can fail despite having the right connector.
- Gain and output controls: Prefer enough microphone or receiver output adjustment to keep a noisy camera preamp at a lower setting, plus a useful high-pass filter for rumble. A safety channel at a lower level helps with unpredictable speech but does not replace correct gain staging.
- Wired or wireless workflow: Wired on-camera microphones are simple and dependable, while wireless systems suit distance, movement, and two-person interviews. For wireless, check transmitter count, separate-channel routing, onboard backup, receiver mounting, charging, and real-world RF stability.