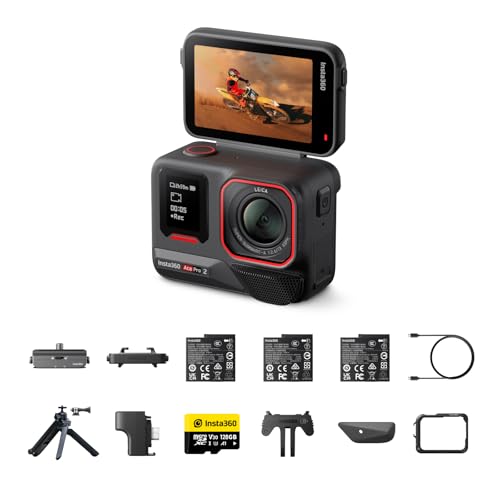
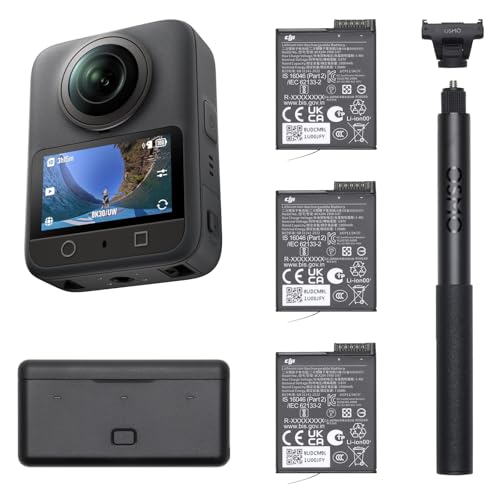
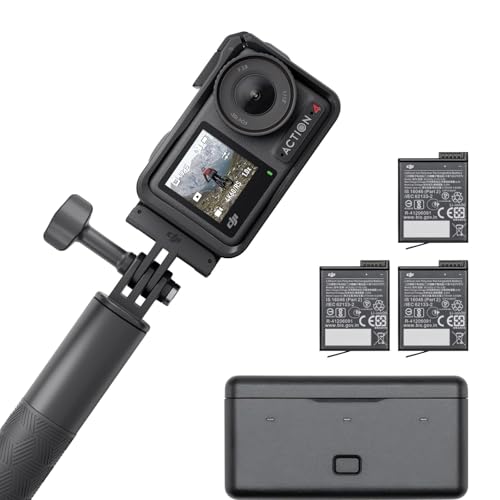
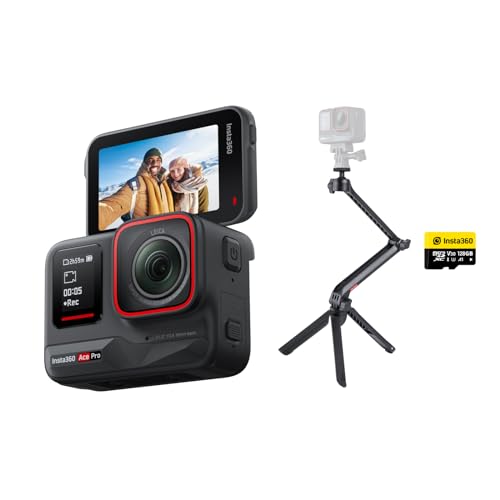
Which brands make the best action cameras for skiing?
The best action camera brands for skiing are as follows:
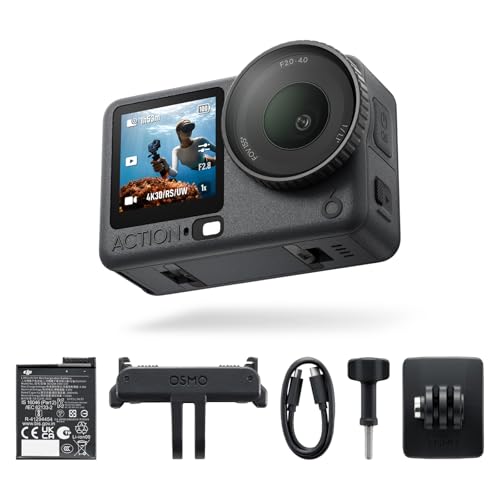
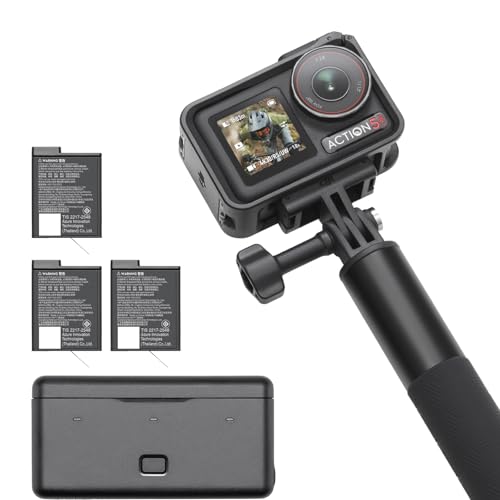
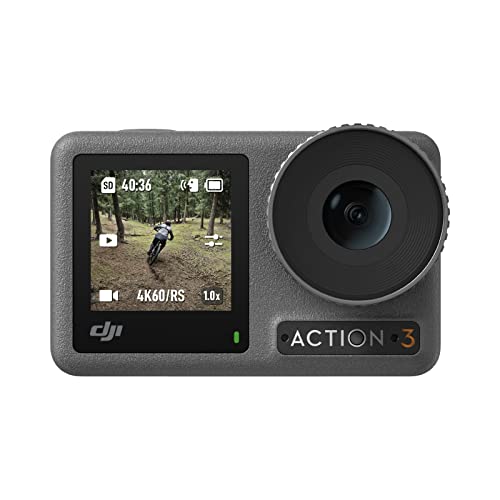
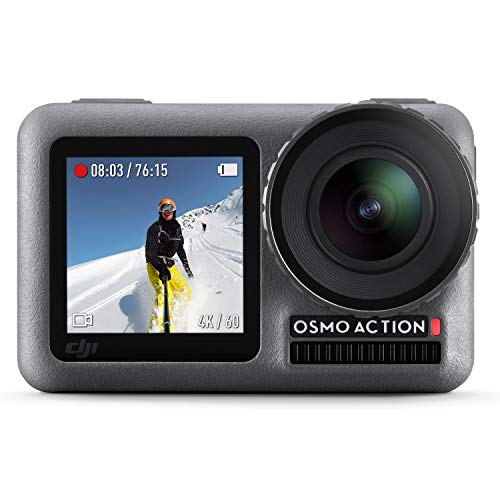
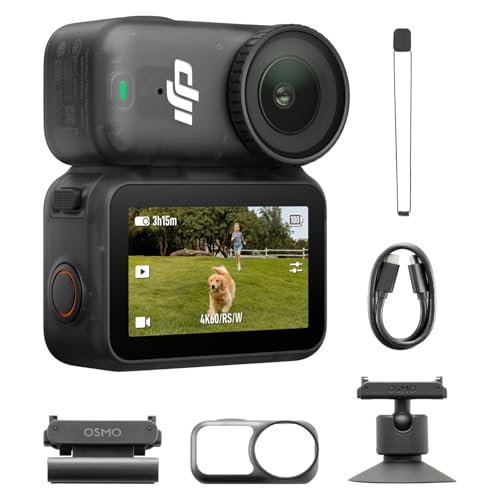
- DJI (Average overall score: 8.6)
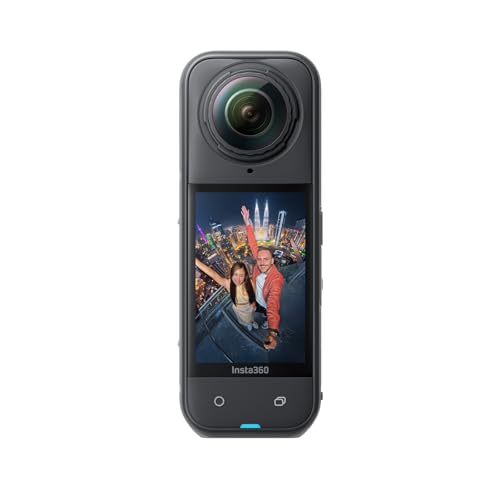
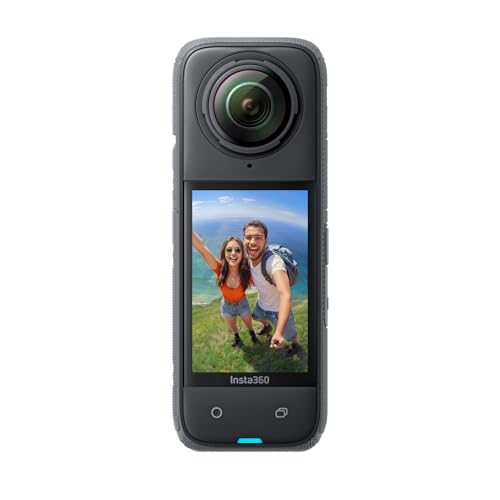
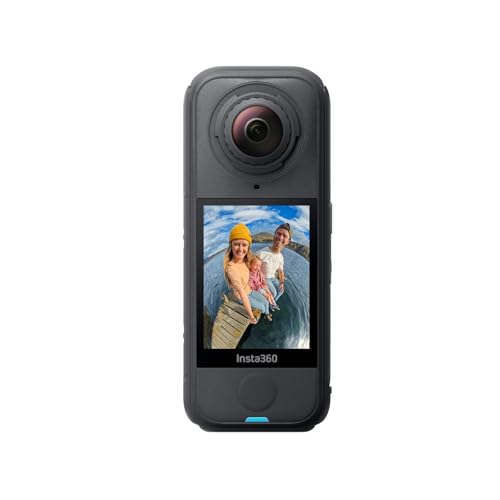
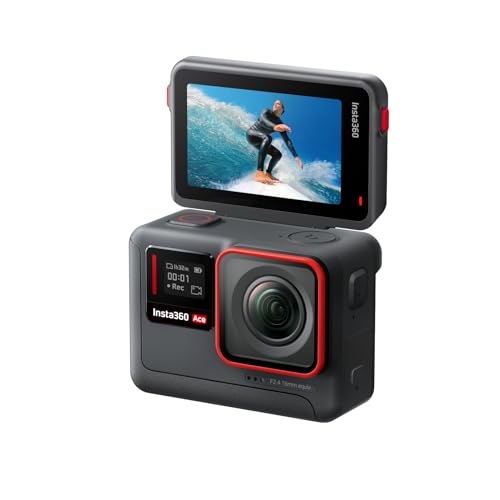
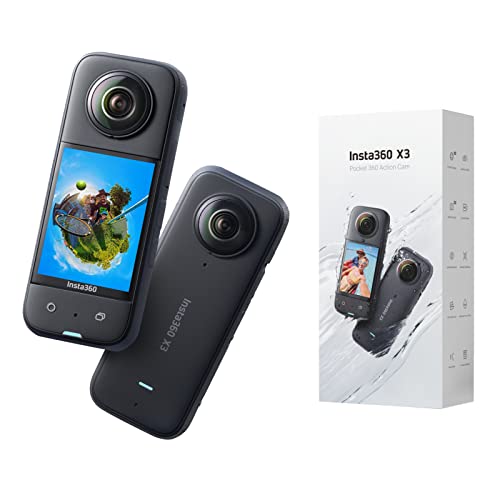
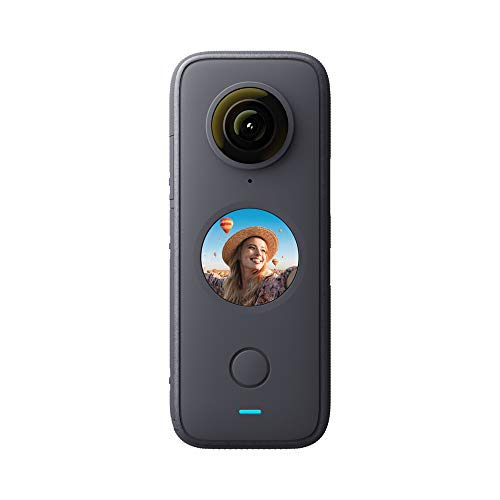
- Insta360 (Average overall score: 8)
- GoPro (Average overall score: 7.7)
- Sony (Average overall score: 6.1)
The chart below compares skiing action camera brands by average overall score.
[horizontal-chart-16635828285159064801114926717714011358452939488981]
What makes an action camera suitable for skiing?
Strong stabilization, cold-weather reliability, native waterproofing, and secure mounting make an action camera suitable for skiing. Stabilized 4K at 50 or 60 fps is a useful baseline because it renders turns and terrain clearly and leaves room for moderate slow motion.
The camera should also provide horizon leveling or horizon lock with a documented field-of-view crop. Stabilization needs spare image area around the sensor, so the strongest setting may narrow the view or become unavailable with the widest lens, HDR, 10-bit color, or the highest frame rate; excellent stabilization limited to 1080p or 30 fps is much less useful for fast downhill footage. Native waterproofing of at least 5 m provides a sensible margin against snow and accidental immersion, but the battery door and USB cover still need clean, fully seated seals. Cold-resistant removable batteries, physical buttons, replaceable lens protection, visible recording indicators, and a standard quick-release ecosystem complete the package because ski use combines gloves, impacts, vibration, changing light, and few convenient opportunities to correct a poor setup.
How good should stabilization be on action cameras for skiing?
Stabilization on an action camera for skiing should remain effective at 4K/60 and correct both body movement and repeated impacts from uneven snow.
Check the exact mode matrix rather than the feature name. The strongest setting may crop 10–30% of the image, disable the widest field of view, reduce the maximum frame rate, or conflict with HDR and 10-bit recording.
Horizon lock is especially useful through aggressive turns, but full 360-degree leveling usually imposes a larger crop than ordinary horizon correction.
Electronic stabilization still depends on sharp source frames. In flat light, forests, or late-afternoon runs, an automatic shutter that becomes too slow produces motion blur that software cannot remove, while slow sensor readout can bend trees and poles during rapid rotation. Good shutter controls, restrained ISO processing, fast readout, and a wide but not excessively distorted lens therefore matter as much as the stabilization label.
What mounting options work best on action cameras for skiing?
Low-profile helmet, chest, and ski-pole mounts work best for action cameras used while skiing.
A low-profile helmet mount follows the skier line of sight. Use a curved adhesive base approved for the shell material, keep the camera away from snag-prone vents, and add a short tether; never drill the helmet or place a rigid assembly where it could interfere with impact protection.
A chest mount includes skis, poles, and body movement in the frame, although a loose jacket can let the harness shift. Tighten it over the outer layer and angle the camera upward to compensate for the forward skiing posture.
Pole mounts and short extension grips work well for follow shots but transmit vibration and can become hazardous in a fall. Keep the lever arm short, use a locking clamp or anti-rotation interface, and attach a wrist strap.


Before setting off, confirm that the chosen mount remains tight when cold, leaves battery access practical, clears backpack or avalanche equipment, and cannot release if snow or ice reduces friction.
How does cold weather affect action cameras for skiing?
Cold weather reduces action-camera battery runtime, increases condensation risk, and makes touchscreens, adhesives, and plastic clips less reliable while skiing. A battery that records for 90 minutes indoors may last substantially less time below freezing, especially with 4K/60, stabilization, both screens, GPS, and wireless connections active. Carry charged spares in an inside pocket, replace the battery before voltage becomes critically low, and let a frozen cell warm above 0 °C before charging it.
Rapid temperature changes bring a different problem: condensation. Seal the cold camera in a bag before entering a warm lodge and let it warm gradually, brush away packed snow before opening any door, and inspect the lens and seals before returning outside. Touchscreens, adhesives, and plastic clips can also become less dependable when wet or cold, so large physical buttons, clear recording LEDs, voice or remote control, cold-rated adhesive pads, and mounts that do not require fine finger movement are much more useful than a touchscreen-only interface.
How much do action cameras for skiing cost?
Action cameras suitable for skiing commonly cost about £130-£520, with strong mainstream choices concentrated around £220-£390.
Below roughly £170, stabilized 4K is available, but cold-weather battery performance, 4K/60 stabilization, native waterproofing, microphones, and long-term app support need especially careful checking.
The £220-£390 range is usually the practical sweet spot. Cameras here are more likely to combine strong horizon control, dependable high-frame-rate recording, brighter displays, improved cold-weather batteries, replaceable lens covers, and a mature accessory system; those improvements influence ski footage more directly than a small increase in headline resolution.
Spending above £400-£500 mainly makes sense for larger sensors, higher resolutions, 10-bit or log recording, advanced 360-degree reframing, or specialist modules. Allow another £70-£170 for two or three spare batteries, a secure helmet or chest mount, a tether, and a high-endurance microSD card.
What should you check before buying an action camera for skiing?
The main points to check before buying an action camera for skiing are as follows:
- Stabilized recording modes: Confirm electronic stabilization at the exact mode you will use, ideally 4K at 50 or 60 fps. Check whether the strongest mode lowers resolution, disables HDR or 10-bit color, restricts the field of view, or stops working at high frame rates; an unstabilized headline mode has limited value on rough snow.
- Horizon leveling and crop: Verify the correction angle for ordinary horizon leveling and whether full horizon lock is available. Compare the crop in each setting, because a severe crop can remove skis and nearby terrain from the frame and can also reduce low-light quality by using less of the sensor.
- Cold-weather battery system: Look for published operating-temperature limits and runtime tests below 0 °C with stabilization and screens active. Prefer removable batteries, USB-C power while recording, and readily available spares; cold can reduce practical runtime sharply, and charging a frozen lithium-ion battery can damage it.
- Sensor, shutter, and snow exposure: Check sensor size, maximum bitrate, 10-bit or log options, and whether shutter speed and exposure compensation can be limited manually. Bright snow can cause clipping while shaded runs force slow shutters that blur motion, so useful exposure controls matter more than maximum resolution alone.
- Native waterproofing and seals: Distinguish the bare-camera rating from the depth available only with a housing. A native rating of at least 5 m provides a useful margin against snow and meltwater, but inspect how the battery and USB doors latch, whether seals are replaceable, and whether opening a wet compartment can bypass the protection.
- Mounting interface and safety: Confirm compatibility with curved helmet bases, chest harnesses, pole clamps, quick releases, and short tethers. Check anti-rotation features, cold-weather adhesive specifications, buckle security, and camera clearance; a loose or protruding mount can spoil footage, detach in a fall, or cause a snag hazard.
- Controls with gloves: Test whether recording can be started and stopped with large physical buttons, a remote, or reliable voice control. Touchscreens may be unresponsive through ski gloves or when wet, so visible LEDs, audible alerts, vibration feedback, and one-button recording reduce uncertainty.
- Lens protection and condensation control: Prefer a replaceable front lens cover and check the availability of hydrophobic protectors, anti-fog inserts, and spare covers. Scratches, ice, water droplets, and internal condensation permanently soften footage, while non-replaceable lens glass can make a minor impact expensive.
- Audio and wind handling: Review microphone placement and wind-reduction modes at speed, and check whether foam covers or an external microphone can be fitted without blocking buttons or compromising waterproofing. Strong digital wind filtering can make speech sound metallic, while exposed microphones may record mostly turbulence.
- Storage, reliability, and ecosystem: Verify the approved microSD capacity and required U3, V30, or faster rating for the highest-bitrate mode. Also check file-chapter limits, recovery after battery loss, firmware history, app transfer reliability, and the local availability of batteries and mounts; these factors determine whether a full day on the mountain can be recorded and recovered safely.